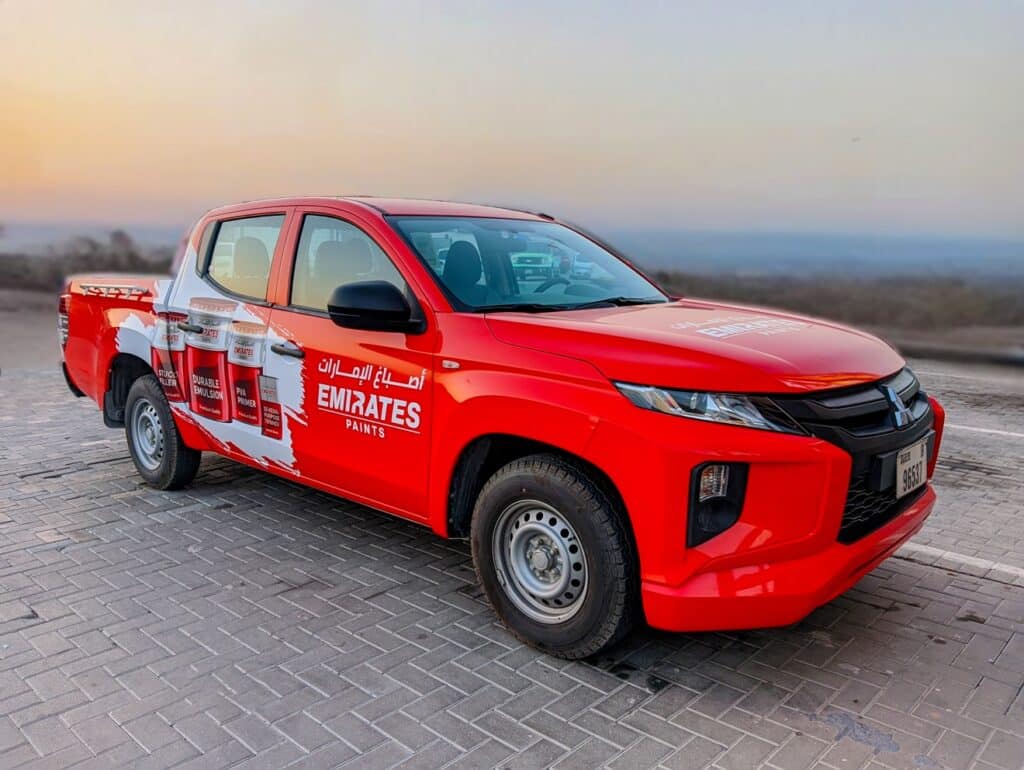
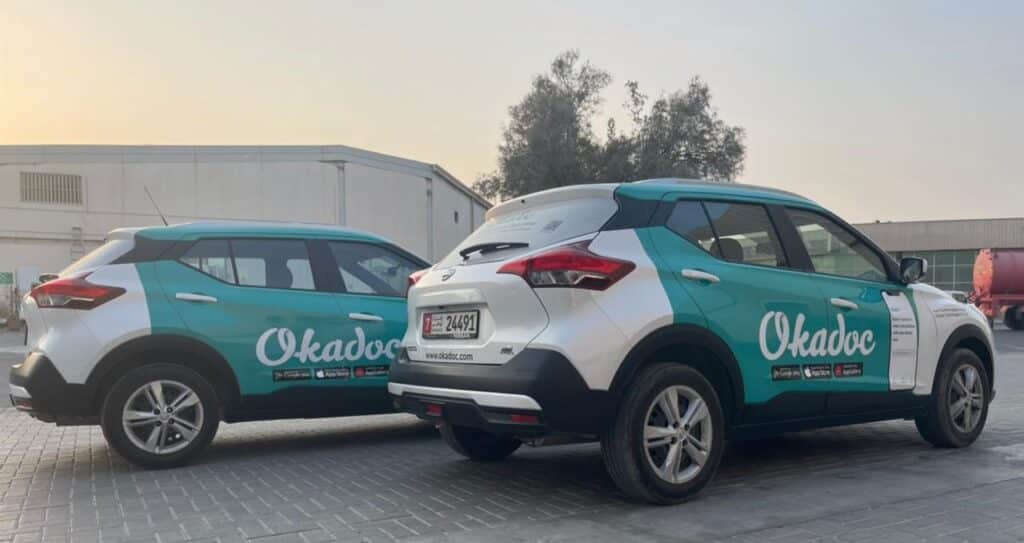
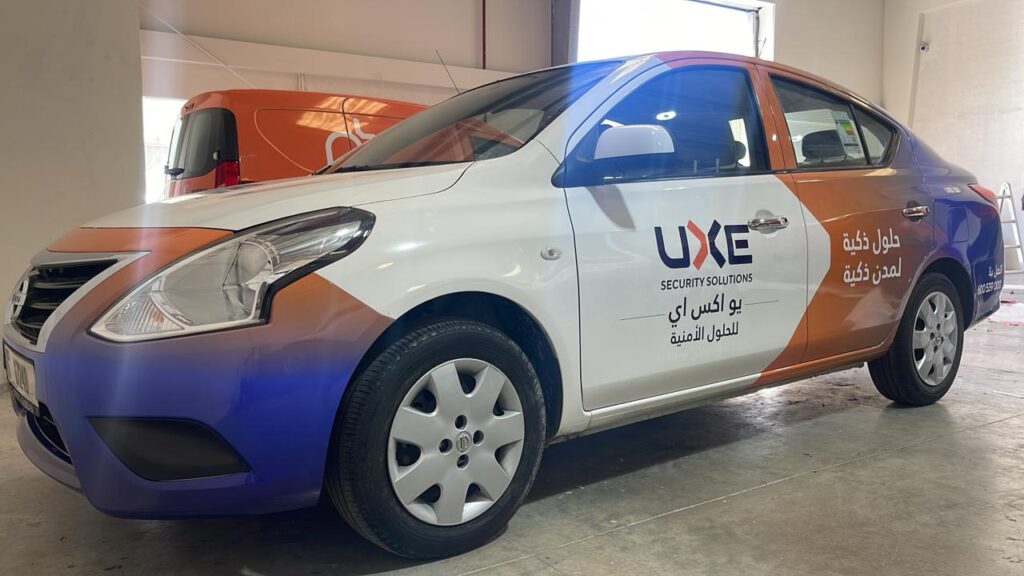
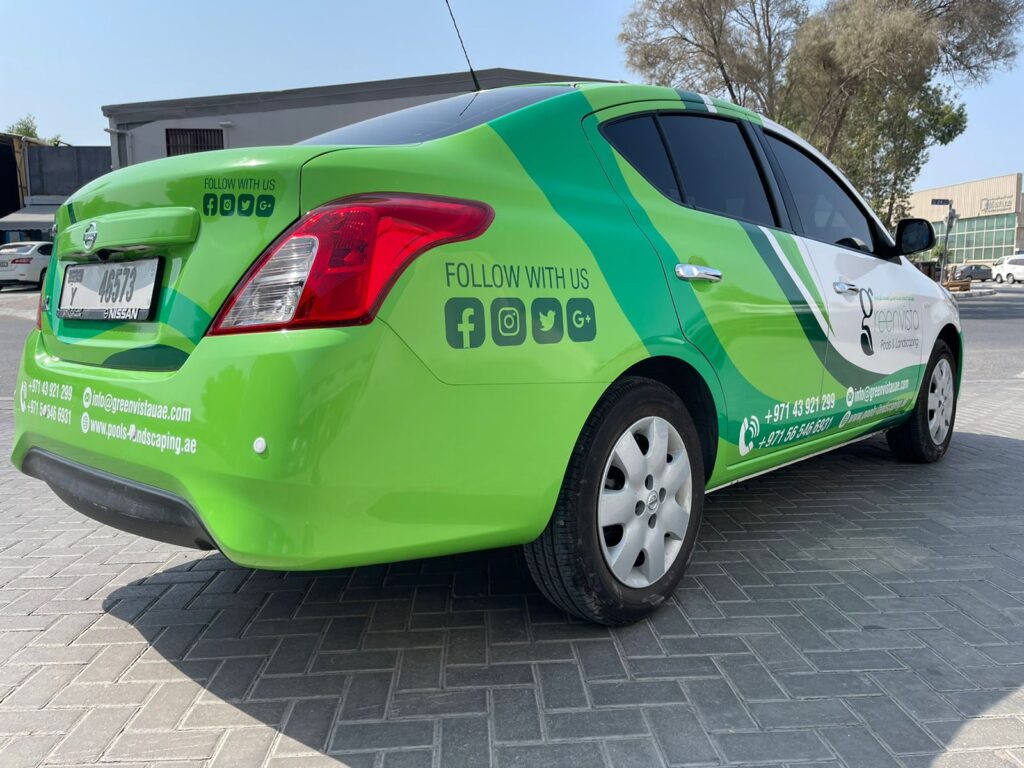
A vinyl car wrap is one of the best methods of redesigning your precious car and making it stand out from the other cars on the road. The endless possibilities for designs and colors for car wrapping have made it very popular for redesigning cars in Dubai.
That being said, a car wrap just like any other car decoration will eventually face issues such as degradation over time, the design may become outdated or your tastes might change in the future.
When this happens, you must replace the old car wrap with the new one by removing the old car wrap first. However, removing a car wrap is a process that demands your attention to minor details and proper usage of tools to be completed. So, keep reading further to learn how to remove Vinyl car wrap in Dubai.

The Tools You Will Need For Car Wrap Removal
Before we move on to the actual process of removing your old vinyl car wrap, we first will need to look at what tools you will require in order to perform the removal process.
The tools you will need are mentioned below:
- Microfiber Towels
- Heat Gun
- Adhesive Remover
- Plastic Razor Blade
You can easily find all the above-mentioned tools from a hardware shop or an online store. Make sure you read the instructions on how to use them before moving forward with the actual car wrap removal process.
If you don’t feel confident in using any of the tools, then do not hesitate to ask for help from the closest car wrapping service provider. Remember to prioritize your safety first before using any of these tools.

The Right Method of Vinyl Car Wrap Removal
Once you have gathered all the necessary materials for the job, you can proceed with the actual process of removing your old car wrap. Follow the steps mentioned below to perform the car wrap removal process correctly:
- Prepare Your Workspace
The first thing you should do is prepare the place where you wish to perform the car wrap removal process.
Ideally, the process should be done in a room with large amounts of space. A place such as your garage will be an ideal place for this job where you can put both your cars and the necessary tools while still maintaining a large amount of space.
Next, consider the temperature at the time of doing the process on the day on which you wish to perform the car wrap removal. Colder temperatures will make the process take longer due to your car wrap requiring more heating of the surface of your vehicle before the car wrap can be removed.
Hotter temperatures, as a result, are ideal for this process as they will reduce the time you will need to heat the vinyl car wrap. In Dubai, try to avoid performing this process during the night due to the significantly colder temperatures that you will have to deal with.
- Start Heating the Surface of Your Vehicle
After you have prepared your workspace, start the car wrap removal process by heating the surface of the vehicle using your heat gun. Make sure you handle the heat gun with precaution and do not burn yourself during the process. Heat all the surfaces of your vehicle where the car wrap is placed.
Keep the flame of the heat gun at least 6 inches away from the car wrap and regularly check the temperature of the car wrap. Move the heat gun slowly over all the surfaces to evenly distribute the heat over the car wrap. The car wrap should be hot enough to easily peel off from your bare hands.
If the car wrap is too hot to handle with your bare hands, allow it some time to cool off before trying to peel the car wrap. On the other hand, if one portion of the car wrap cools off before it is peeled, then remember that reheating that portion is completely fine.
- Peel the Car Wrap
When the surface of the car wrap is sufficiently heated up, you can use your fingernails to peel off the old car wrap from your vehicle surface. Start doing this from the edges of the car wrap by prying the car wrap up with your fingernails. If this does not work without applying a lot of force, then use the plastic razor blade instead.
Remember to not do this step with anything sharp like a screwdriver as this can result in damage to your car’s paint. Heating the surface again in case the car wrap becomes stuck is a good option but, remember not to apply too much force on the car wrap as this can lead to tearing which will slow down your process in the future.

- Spray the Adhesive Remover
It is common for car wrap to leave some residue on the surfaces of your vehicle after it has been peeled off. Luckily, an adhesive remover and a microfiber towel are all that you need to remove this residue and clean the surface of your vehicle. You can check whether the surface has been cleaned by running your hands over the surface.
The surface should feel smooth after cleaning with an adhesive remover. Remember to let the adhesive remover settle for at least 1 minute before you wipe the surface with your microfiber towel.
- Choose a Separate Side for Testing
While the process mentioned above feels simple enough, it is a wise decision to pick a side of your vehicle specifically to test your equipment first or familiarize yourself with the process before you proceed to your entire car wrap. This also allows you to test how easily your car wrap is to remove.
If you face any difficulties with the removal process, then we highly recommend you get professional assistance from the closest car wrapping company.

Conclusion
A vinyl car wrap is a great way to attract the attention of every eye that is present on the road. The variety of colors and designs in car wraps allows everyone to express their ideas and creativity through their car. That being said, one day you will have to remove your old car wrap in order to allow a new car wrap to be applied to your precious vehicle.
Hopefully, the above-mentioned guide will help you to properly remove the old car wrap without damaging your vehicle. The important things to keep in mind throughout the process are that the process should feel smooth, prioritize your safety first, and don’t hesitate to ask for professional help whenever you require it.
So, make sure you are aware of a nearby reputable car wrapping company before you begin with the vinyl car wrap
